How To Repot A Phalaenopsis Orchid: A Definitive Step-By-Step Guide to How, When & Why You Should Repot Your Monopodial Orchid
The Guide To How, When & Why You Should Repot Your Phalaenopsis Orchid
Like all orchids, the Phalaenopsis has an impressive lifespan, during which it will experience changes that will necessitate "repotting" to improve and refresh its overall living conditions. Some of these changes include the degrading potting conditions that happen over time, as well as its need for space and proper ventilation. As a grower of these unique and beautiful plants, you will want to accommodate these changes by knowing how to repot a Phalaenopsis orchid, and when and why you should.
While not a complicated process, there are some important steps you need to follow in order to create the best and most comfortable and healthy home for your orchid.
Why Repot? Your Phalaenopsis & Changes During Its Lifetime
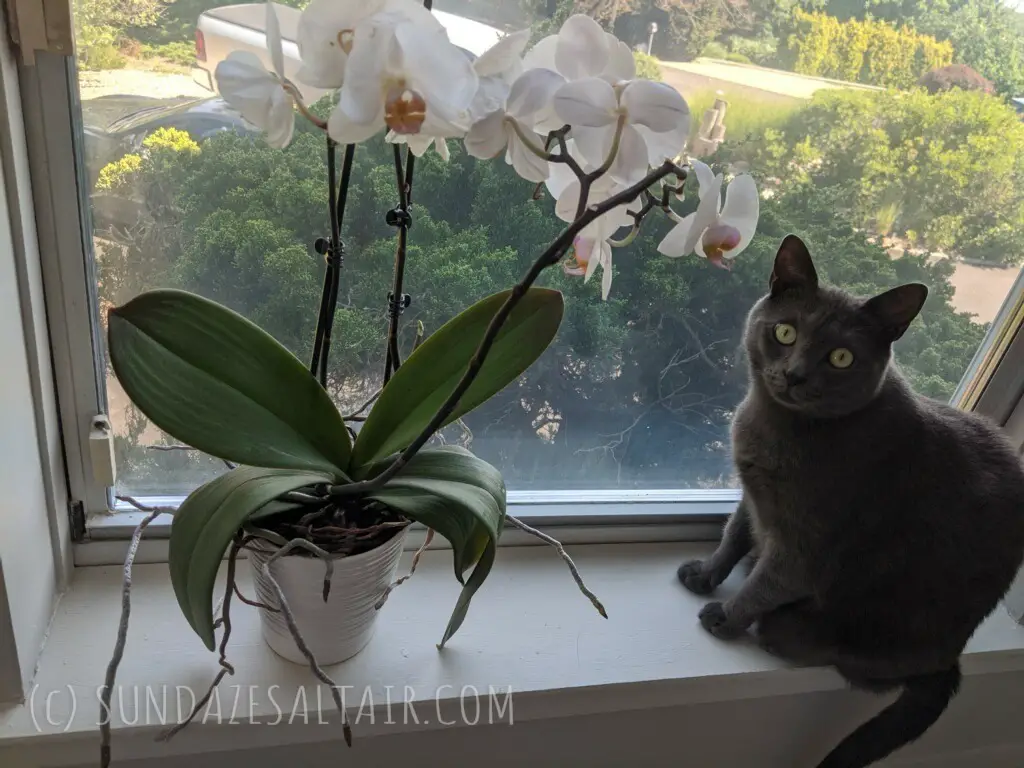
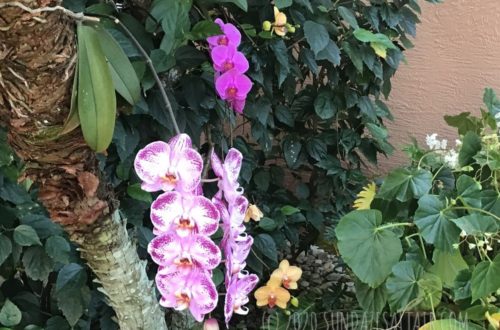
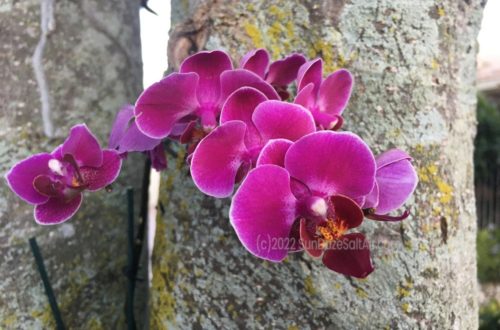
As one of the more widely available members of the orchid family, the Phalaenopsis is known as the "Moth Orchid" for its delicate petals resembling a moth's wing in flight. It is also celebrated for having flowers that bloom for a relatively long time and, like other orchids, it has the potential for a long life, as well -- if it is properly cared for.
Part of this care includes ensuring your plant's immediate home conditions are comfortable and not overly wet or excessively dry. It is not just a matter of comfort though, it is a matter of life or death. A potted orchid that does not get attention in the form of periodic repotting risks root rot and decay and, ultimately, its very survival. Before I discuss repotting in detail, however, I am going to provide a little background information on how your Phalaenopsis orchid grows and how that may affect repotting. If you prefer to go straight to the section on repotting, just skip ahead to the section below titled, "Should You Repot or Just Refresh Your Phalaenopsis Orchid?"
Identify Your Orchid's Pattern of Growth Before Repotting - Does Your Orchid Grow Taller or Wider? The Differences Between Monopodial & Sympodial Orchids
When considering repotting any orchid, take note of another of the orchid's unique features -- its particular growth pattern. All orchids fall into one of two types of growth patterns - monopodial or sympodial. It sounds complex but is actually quite simple. Monopodial orchids, like both the Phalaenopsis and Vanda orchid, gain height as they grow, like a palm tree, getting taller with each new leaf. Since, they grow upwards, you may want to consider the need for more vertical space as they grow.
Where Will New Flowers Emerge on Your Phalaenopsis? Look At the New Leaves to Tell
Each year a healthy Phalaenopsis orchid should grow one or two new leaves, which also helps indicate where you can expect new flowers. New flower spikes should emerge 2 or 3 leaves down from these newest leaves. Therefore, even if your orchid is not currently in bloom, if you see new leaves growing know it is an excellent sign that you can look forward to beautiful flowers blooming in the future.
Phalaenopsis & Other Monopodial Orchids Bloom More Often but Sympodial Orchids Bloom More Profusely
Unlike monopodial orchids, sympodial orchids, like Dendrobium and Oncidium or Dancing Lady orchid, have multiple stalks or pseudobulbs, which increase in number each year as they grow horizontally, or wider, with each growth. Typically, new pseudobulbs emerge after the sympodial orchid finishes its flowering period. These new pseudobulbs indicate where future flower stalks will grow and also serve as water storage for the plant.
While sympodial orchids tend to flower less frequently than monopodial ones, when they do bloom, sympodial orchids tend to produce a profusion of flowers with multiple flower stalks shooting up all at once.
Monitor Air Roots On Your Phalaenopsis & Pseudobulbs On Your Sympodial Orchids For Signs Of Health
In the same way that smooth, plump green to silvery-white air roots indicate a healthy Phalaenopsis and other monopodial orchids, a smooth and plump pseudobulb signals a healthy and hydrated sympodial orchid.
Bottom-line: Your Phalaenopsis Grows Upward & Top-Heavy
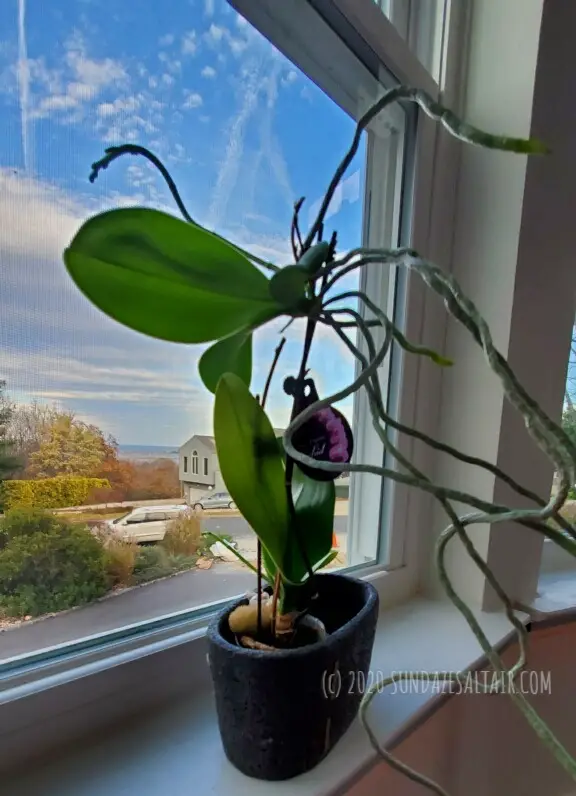
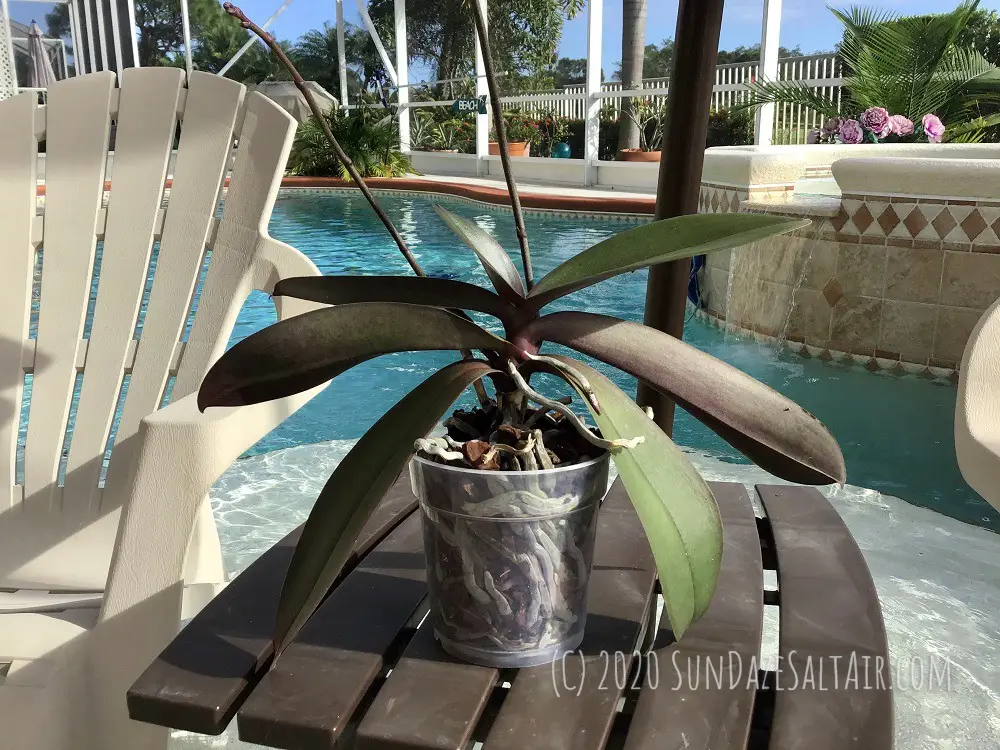
Since Phalaenopsis/Moth orchids are monopodial with a main stem that grows upward from a single point, each new leaf will sprout from the top of the main stem, as well as each new flower spike. At the same time, the lower leaves die off, subsequently creating a leggy, top-heavy plant that may outgrow it container, along with having multiple aerial roots hanging down. This unique growth pattern of increasing height is one factor to consider when repotting your Phalaenopsis.
********
Should You Repot or Just Refresh Your Phalaenopsis Orchid? Small Changes Can Yield Big Results
Now, when I refer to "repotting" keep in mind that you do not need to literally change pots and transplant your orchid into a new and larger pot. You only need to do that if your orchid has actually outgrown its container which does happen as your orchid grows more roots and gets larger. But, even if your orchid doesn't increase in size, it still needs periodic repotting or "refreshing" of its medium.
You see, repotting also refers to "refreshing" your orchid's potting medium which is the process of removing old, degraded potting mix and replacing it with new, fresh potting medium. This simple act of repotting with fresh potting mix is necessary to maintain your orchid's health and vitality. Especially if your orchid's potting mix is degraded or low quality, which happens over time, your orchid may need to be "repotted" with fresh potting mix as often as every couple of months.
What Is The Best Time Of Year To Repot Or Transplant Your Phalaenopsis Orchid?
When you do decide to repot, you will want to follow the following basic guidelines regarding the best and worst times to repot your Phalaenopsis.
Never Repot When Your Orchid Is Flowering
- The ideal time to repot orchids is after its flowering period, which often occurs in the winter. Always wait to repot until after all flowering has stopped and new growth such as roots or leaves have begun to appear, which typically occurs in the spring and summer. Otherwise the stress and transplant shock will likely cause all flowers to wilt and fall off. Which is obviously the last thing you want to happen to long-anticipated blooms.
****Tip! Look For New Growth As A Sign To Repot
Spring Repotting Benefits & A Fertilization Routine
- The general rule is you can repot anytime from spring through fall when plants are not blooming but spring is ideal. Repotting in the spring allows you to kickstart a fertilization routine where you can plan to feed your Phalaenopsis orchid fertilizer every three weeks during the summer. Following this routine should pave the way for an especially abundant blooming season come fall and winter.
- If you repot your orchid during the summer, be sure to provide sufficient water because transplanting is stressful, the sun is hot, and a hydrated plant will be easier to work with.

When Should You Repot A Phalaenopsis? Look For Signs Indicating Your Orchid Could Benefit from Repotting
For a Phalaenopsis that has outgrown its space, or show any of signs of degraded potting medium or other signs outlined below, you should repot immediately to nip these concerns in the bud, and preserve the health of your plant.
After The First Year Growth Spurt
You may notice that by the end of your orchid's first year, your Phalaenopsis is beginning to outgrow its pot. This is not unusual and you will want to accommodate your plant's growth with a slightly larger sized pot, no more than an inch or two larger to be exact. When orchids are pot-bound, the close quarters helps them better absorb moisture from their potting medium.
The Lower Leaves Turn Yellow & Begin To Shrivel Or Die Off
If you start to notice the lower leaves of your Phalaenopsis turning yellow or taking on a shriveled appearance, they are dying and an indicator your Phalaenopsis could benefit from repotting. An orchid will typically lose one or two leaves at the bottom each year and gain one or two leaves at the top. However, when the lower leaves die, it makes the orchid leggy and could weaken the stem and the entire plant if not repotted.
The yellowing leaves may also be a sign your orchid is getting too much moisture as a result of overwatering or inadequate drainage which could indicate the potting medium has degraded and needs to be replaced.
If Your Orchid's Potting Mix Or Bark Always Looks Moist, Degraded, And Is No Longer Firm
It's always best to repot before the potting medium totally breaks down to avoid damage to your orchid. However, often times we don't notice until it's too late (which is why plastic see-through pots are ideal as far as pots go). If you begin to notice excessive moisture lingering long after watering it likely indicates that your potting mix is degrading, decomposing and preventing proper drainage and aeration for your plant's delicate roots.
Fir Bark Mixtures - Look For Early signs Of Decomposition
One of the most common types of potting mediums used for orchids are fir bark mixtures. Unfortunately, as fir bark starts to deteriorate, it starts to rot, getting soft and mushy, which can potentially promote root rot. Between watering and fertilizing, these mixtures will tend to breakdown within a few months or so and need to be replaced. Once the chunky bark starts to decompose, it becomes very fine and soil-like which just locks in moisture that inevitably leads to rotting and fungus problems.
****Tip! If you notice fine pieces of wood that resemble coffee grounds floating up to the surface when you water, that's a sign that the wood bark has already begun decomposing and you should repot with new potting medium ASAP.
Sphagnum Moss
Sphagnum moss is also a common component in orchid potting mixes, with many plants being sold only in sphagnum moss. While it can be an excellent medium for retaining moisture in dry environments, it can lead to too much moisture at its center especially if you are heavy-handed with watering. Repotting your orchids to include a chunkier medium, including perlite and charcoal, can help alleviate this excess moisture, minimizing the chances of fungus or rotting.
Address potting mix deterioration by changing your plant's potting mix ASAP. By giving your orchid fresh, or larger, chunky orchid potting mix when you suspect old medium has degraded, you ensure your orchid's roots will not be permanently damaged... as they are in the scenario below.
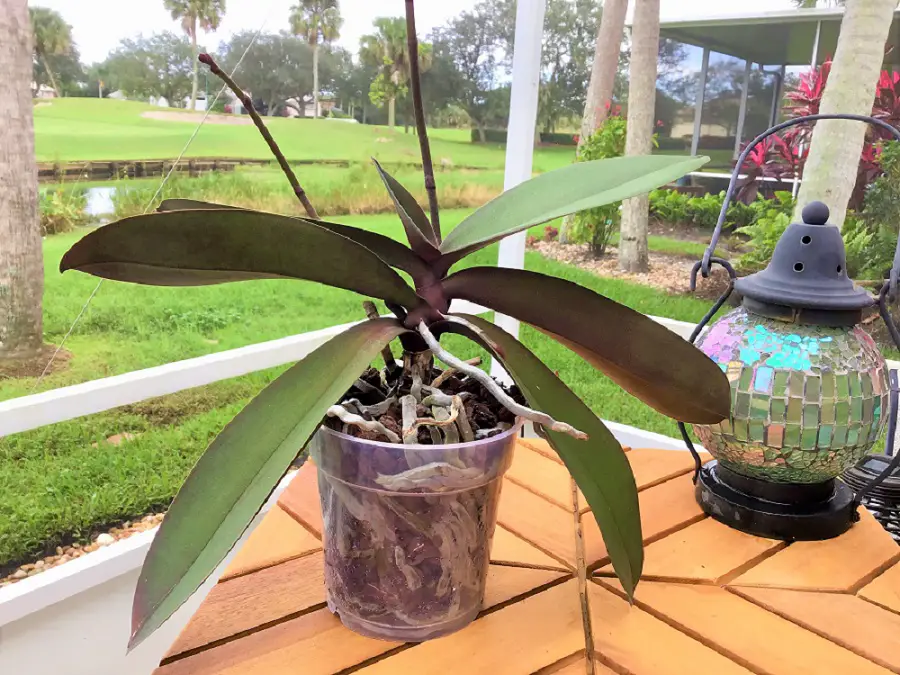
Your Orchid's Roots Are Brown, Soft Or Soggy
If you notice any signs of brown colored roots that are soft to the touch, you will want to repot immediately. You can also read about pruning an orchid here. Soft or mushy roots indicate you may have already waited longer than you should have, potentially damaging your orchid with prolonged exposure to moist conditions and rot.
However, with a prompt response, all may not not be lost. By pruning your Phalaenopsis if necessary and promptly replacing soggy mix with fresh potting mix, you will provide a dryer, more hospitable environment. This can help your orchid dry out a bit and recover from prior soggy conditions.
Tangled Roots
While an orchid normally has loosely tangled roots, if you observe your Phalaenopsis's roots are looking tightly tangled, it can indicate your orchid is outgrowing its pot and needs a slightly larger pot. If the roots remain tightly tangled together it decreases your orchid's exposure to much-needed air flow and ventilation making your plant vulnerable to root rot, disease and fungus.
Aerial Roots Growing Down Over The Side Of The Pot - Should You Bury Orchid Aerial Roots When Repotting? No, Never!
No, you should not ever try to repot or bury your Phalaenopsis's air roots into a pot. When you begin to notice many of your Phalaenopsis orchid's roots hanging over the side of the pot, realize that it is really a sign of a healthy, vital orchid. Air roots don't want to be buried and have no need for soil or medium - they readily adapt to their environments where they can absorb both moisture and nutrients.
Phalaenopsis Orchid Roots Are Highly Adaptable
While outdoor orchids get their water and nutrients through their air roots from the elements, the air roots of any orchid are extremely adaptable to any environment by design. However, when grown indoors, this is where your orchid's potted roots come in. Potted roots enable your indoor orchid to adapt well to a low humidity indoor environment even if all its air roots reach out for moisture that just isn't there inside your home. Air roots are vital however, and can help save an orchid when the potted roots have been damaged.
Growing Orchids Indoors Vs. Outdoors
The ability of the roots of your Phalaenopsis to adapt to whatever medium it is in is why your indoor plant will absorb most of its hydration from its potting medium. Its potted roots enable the orchid to survive in dry air conditions even while its air roots are not exposed to much moisture. Contrast this to an outdoor orchid in the wild that absorbs most of its moisture from the air through its exposed roots.
So, be sure not to bury or suffocate air roots and allow them to grow wild in whatever direction they choose. You should occasionally mist these air roots, and as long as you have healthy potted roots rest assured that your indoor Phalaenopsis will get sufficient moisture.
If It's Been A While Since You Last Repotted Your Orchid
All potted orchids benefit from periodic fresh potting mix as a general rule since orchid roots naturally love ventilation. While potting helps conserve moisture it also diminishes the amount of ventilation their roots are exposed to which is why I often advocate for growing your orchids in baskets wherever possible or even like this if you live in the right climate. While potting mix may be needed to grow orchids in a variety of climates, it naturally degrades over time especially with continuous exposure to moisture.
Repotting with an application of fresh potting medium ensures that your orchid receives the proper amount of hydration as well as enhancing ventilation surrounding its delicate roots. Potting mix or soil that is not replaced leads to dampness, inadequate ventilation and decay, putting your delicate orchid at risk for fungal disease and death.
**********
What You Will Need To Repot Your Orchid:
1. Choose The Best Pot For Your Phalaenopsis
There are many different types of pots and containers to choose from with everything from plastic to decorative ceramic and terracotta available. But which of these are the best choice for your Phalaenopsis?
I believe clear plastic pots are the best choice for a number of reasons. First, they are typically well ventilated with drainage slots or holes plus they are also see-through. This transparency allows you to see any root, fungus or excess moisture problems before they become a bigger problem. You can observe any trapped moisture affecting your potting mix/bark and its effect on your orchid's roots. In addition, you can also observe any insect or pests before they take up residence and infest your plant. Plus, plastic pots are also lightweight and inexpensive.
Many pots, especially ceramic pots, often lack the proper drainage an orchid needs. Whatever potting container you chose, be sure it has a few drainage holes in the bottom or sides of the pot, or drill some.
Choose Plastic Pots For Function But Decorative Pots For Display
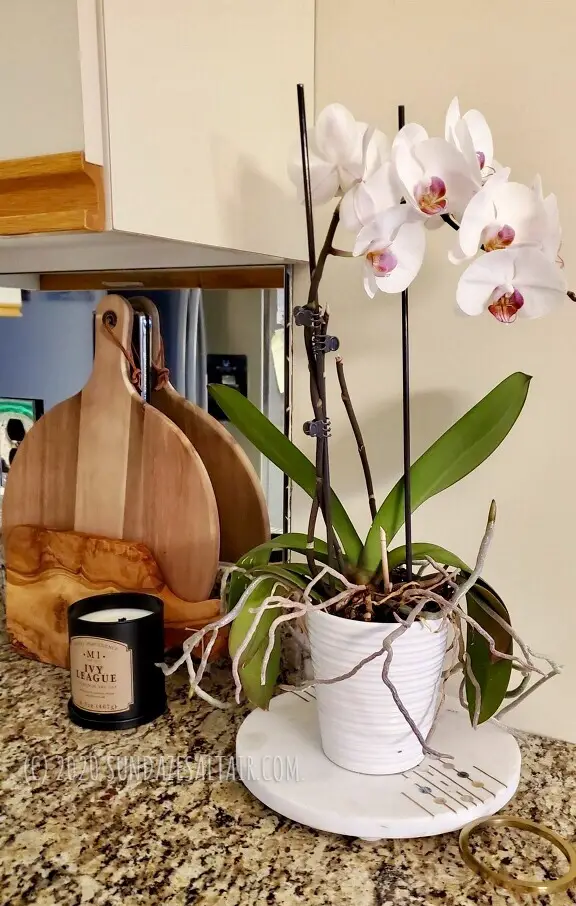
Also, since Phalaenopsis orchids are epiphytes, meaning their roots grow exposed in open air and sunlight in the wild, the transparent clear plastic pot allows for light exposure similar to their native habitat. They are also versatile since you can sit the clear plastic pot inside a colorful decorative container for display purposes. Just remember the decorative pot should also ideally have a drainage hole. This "double" potting gives your Phalaenopsis the benefits of clear plastic pots while still allowing you versatility with display options.
Terracotta pots are heavy and the clay allows them to dry out quickly, potentially helping avoid root rot. However, they also lack any transparency that would allow natural light to be transmitted. For these reasons, terracotta pots are best for acting as a temporary display pot for an orchid housed in a clear plastic pot.
A Clean Pot Equals A Healthy Orchid
First, make sure any pot you select is clean and, if used, sterilized. Since orchids are susceptible to plant viruses, working with clean tools and pots is crucial.
You can accomplish this by soaking your pot and any tools like shears or scissors in a bath of hot soapy water containing a small amount of bleach (for a 10% bleach solution use one (1) part bleach to nine (9) parts water) or vinegar for about an hour. Remove from the solution, scrub clean, rinse and allow to dry. If you use chlorine bleach to clean a clay pot, you will want to ensure the pot dries out for at least two days to remove any trace residue of the chlorine which can be harmful to your plant without ventilation.
Choose A Pot Size Only Slightly Larger When Repotting Your Phalaenopsis As They Prefer To Be "Cozy" Or Pot-Bound
When your orchid seems to be outgrowing its original pot, obviously, your first instinct is to opt for a larger pot, but it should only be slightly larger since most orchids flower best when they are pot-bound. In addition, a pot that is too large will have more potting medium which will be more likely to accumulate moisture and encourage root rot.
Another reason to go only an inch or two larger in diameter from its original pot is because a Phalaenopsis, like all epiphytes, instead of growing in the ground, grows clinging to the surface of other plants, rocks, or trees with air roots exposed. These exposed air roots serve to absorb water, nutrients and nitrogen, as well as light from their outdoor surroundings.
However, a Phalaenopsis growing in a dry indoor environment cannot readily draw water from the elements and only receives what you provide it. By planting your orchid slightly snug with its potted roots surrounded by moistened orchid potting mix, you can simulate the moisture it would otherwise receive outdoors.
Pot-Bound But Not Forced
Also, for a Phalaenopsis or other monopodial orchid, you want a container that accommodates the root system without requiring bending of, and potentially damaging, the roots to fit inside. So keep your orchid "cozy" but don't force any roots into compromised positions.

2. Appropriate Potting Mix - What Orchid Potting Mix Is Best?
If You Water Regularly, Look For Large Particulate Mixes Which Provide Drainage
Look for an orchid or succulent or cactus potting mix as those tend to have larger particulates that facilitate swift and even drainage. Sufficient drainage keeps rot-inducing moisture from lingering and harming your orchid. This is especially important if you expect your orchid to be exposed to moist conditions and humidity or is indoors and in dim natural light.
However, if you cannot water regularly and your orchid is living in dryer conditions you will want a potting medium that retains slightly more moisture. You can achieve this by mixing larger sized particles such as Orchiata bark with smaller and medium sized particles. For a Phalaenopsis, this variable blend can include a combination of sphagnum moss, fresh fir bark (1/2 inch medium grade chunks) and smaller amounts of perlite (or sponge rock which is larger perlite) and horticultural charcoal which is very important as it helps neutralize fertilizer salts and prevent them from building up acids and harming your plant.
Orchids purchased in stores often come potted in sphagnum moss, however, sphagnum moss tends to hold a lot of moisture and deteriorate rather quickly. Therefore, you want to be sure to combine sphagnum moss with larger particulates and refresh and replace the potting mix often.
3. Sterilized Garden Shears Or Scissors
Keep sterilized garden shears on hand to prune any dead or dried up stems, roots, leaves and flowers. This will keep your orchid neat and tidy, prevent rot and fungus and encourage new growth.
************
How To Repot Your Orchid
If any of the signs mentioned above apply to your orchids and you've determined that it is the right time to repot, follow the guidelines below to make the repotting/transplanting process as smooth as possible. By following these simple steps, you can provide the space and conditions your orchid needs to grow both healthy and beautiful.
Step-By-Step Phalaenopsis Orchid Repotting Instructions
- Lay down newspaper or an old towel over your workspace to make clean-up easy. Have a bucket nearby to collect debris.
- Soak your orchid's roots well by watering with room temperature water, allowing the water to drain through the pot. Doing so makes the roots more flexible and also makes it easier to remove the orchid from its pot, detangle it and handle the potting medium when it's moist. It will also helps you see which roots need to be pruned, which you can read more about here.
- Remove your Phalaenopsis from its current container by gently pulling the plant with one hand as you tip the pot on its side. If roots are stuck to the side of the pot, use a sterilized knife or shears to detach them by running the knife along the inside of the container. If your Phalaenopsis doesn't slip out nice and easy, use a bit more pressure to coax the plant from its container. Try to disturb as few roots as possible.
- Remove Old Potting Mix - Once you have successfully dislodged your orchid, use your fingers to thoroughly remove the old potting medium, combing through the roots as needed to get it all out. Any that remain could continue to decompose creating damp pockets of rot and decay that will eventually rot your plant. The roots are quite hardy and strong so don't worry too much about hurting your plant. You can even use a spray of water from the sink or a hose to dislodge any stubborn remnants of the old bark potting mix. The organic remnants makes a great compost so be sure to use it to benefit your garden.
- Examine your orchids roots and carefully remove any dead stems, leaves, roots, or flowers.
- How Do You Tell Which Orchid Roots Are Healthy? One way to determine healthy roots is to look at their color and firmness. For most orchids, a healthy root will be silvery-white and firm. Healthy orchid roots can range in color from a silvery white to a succulent greenish-white and even sometimes appear brownish marron yet should always be firm not soft. Another way to tell if an orchid air root is healthy is to gently squeeze it; again, a healthy root will feel firm to the touch. Living roots also appear plump with a smooth surface, so any roots that are shriveled or dry and papery are likely already dead.
- Look For Pests - Take this time to also look for any orchid pests such as aphids and spider mites, and wipe them off using a paper towel soaked with a bit of the hydrogen peroxide or vinegar solution.
- Add a couple of inches of orchid-appropriate potting medium to the bottom of the pot. Don't overfill the pot where you take away precious space from the roots or cause crowding. Remember, orchid roots need ventilation and aeration so leave space to encourage air and moisture flow.
- Carefully place your freshly pruned orchid into its new pot, centering the plant as you spread out its roots gently. Make sure the lowest leaf on your orchid sits just above the pot's rim.
- Top Off By Adding More Potting Mix - Once you have the roots comfortably settled in the pot, then you can add more potting mix, gently working in small amounts to get them to nestle between the roots. Gently shaking the pot will also cause the mix to further settle down into the pot. Only use just enough mix to come up to within a half an inch of the pot rim, allowing space for watering.
- Water Your Newly Transplanted Phalaenopsis Orchid In Its New Pot - Make sure the leaves of the orchid are not submerged in water, only the roots.
- No Fertilizer For A Few Weeks After Repotting - Transplanting is enough of a stress for any plant but fertilizer can burn newly forming roots so be sure to abstain from any fertilizer application for about a month.
- Clean - Once the transplant is complete, feel free to gently dust off any dust that has accumulated on your orchid's thick, glossy leaves using a slightly damp cloth or paper towel. Removing any dust and debris from the leaves allows your orchid's beauty to shine through and prevent buildup. Dirt and dust buildup could even contribute to compromising the plant's photosynthesis process by blocking the sun's rays from adequately penetrating the leaves.
********
Follow These Easy Tips As To How, When & Why To Repot Your Phalaenopsis Orchid For A Healthy, Happy & Flowering Orchid
The beautiful Phalaenopsis orchid is an ideal addition to just about any home or garden. And now that we are all spending so much time in our homes, anything that can bring life and beauty to our surroundings may be just what we need. Just be sure to make it's home comfortable, provide sun and a occasional drink and follow these repotting tips.
Bookmark and use these guidelines to judge why, when and how to repot your orchids. By periodically refreshing your orchid's living space, you will be well on your way to encouraging the most vitality and beauty from your plants. And a happy and healthy orchid will reward you for your care with a display of blossoms rivalling your wildest orchid growing dreams.
**********
How are your Phalaenopsis orchids doing? Comment down below to let us know your secrets to a healthy & thriving Phael...


You May Also Like
Stimulate Root Growth On An Orchid With No Roots: How To Grow New Roots On An Orchid
How to Attach A Phalaenopsis Orchid to A Tree