How To Propagate A Dendrobium Orchid – Two Easy & Effective Methods
Grow Another Dendrobium With These Simple Techniques
Dendrobiums may be the quintessential orchid in a family of spectacular floral showpieces. As one of the largest, most diverse orchid groups, the often tropical, showy Dendrobium embodies both the exotic beauty and sheer variety of the orchid family. Many of the Dendrobiums we know and grow are tropical in origin, but Dendrobiums are native to places as diverse as the foothills of the Himalayas, the jungles of Southeast Asia, and even the outback of Australia. Diverse Dendrobium species can certainly thrive in a variety of natural habitats. While the sheer variety of Dendrobium species makes it difficult to generalize about universal Dendrobium care requirements, there is one important commonality among Dendrobiums — the ease with which they may be propagated.
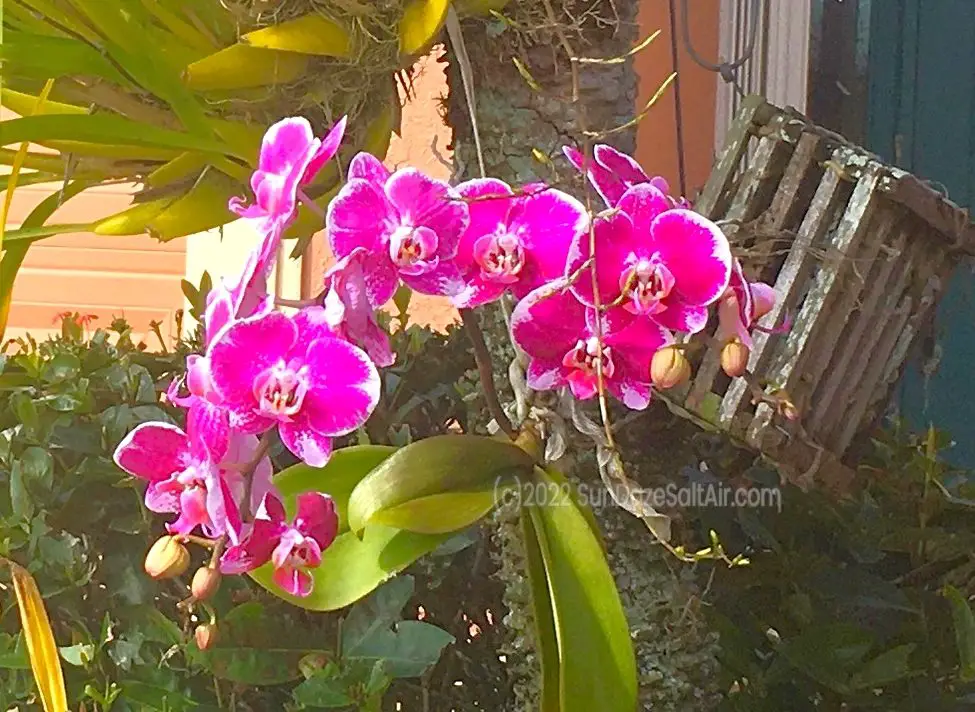
**For everything you need to know about caring for a Dendrobium Phalaenopsis, one of the easiest orchids to grow, check out this post here…
If you possess one of these floral marvels, you have undoubtedly observed how large a Dendrobium can grow with each new cane. What better way to “downsize” your Dendrobium than by creating a new plant from cuttings? Yes, you can grow a brand-new orchid from Dendrobium “cuttings” as well as from Dendrobium keikis. Keiki is Hawaiian for “baby,” and you will likely recognize keikis as those growths sprouting from your orchid. Let’s find out exactly how to turn these cuttings and growths into a whole new Dendrobium but, first, a few Dendrobium basics…
TIP! There are few sights more breath-taking than beautiful Dendrobiums cascading from hanging baskets – learn how to grow your orchids in baskets here…

Dendrobium Basics
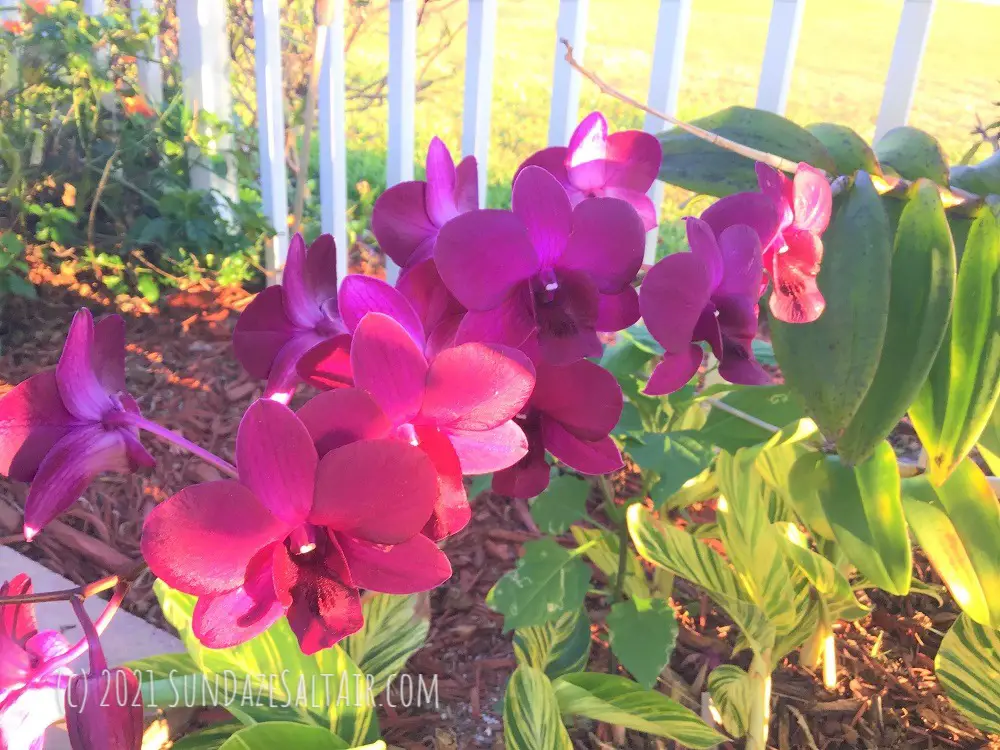
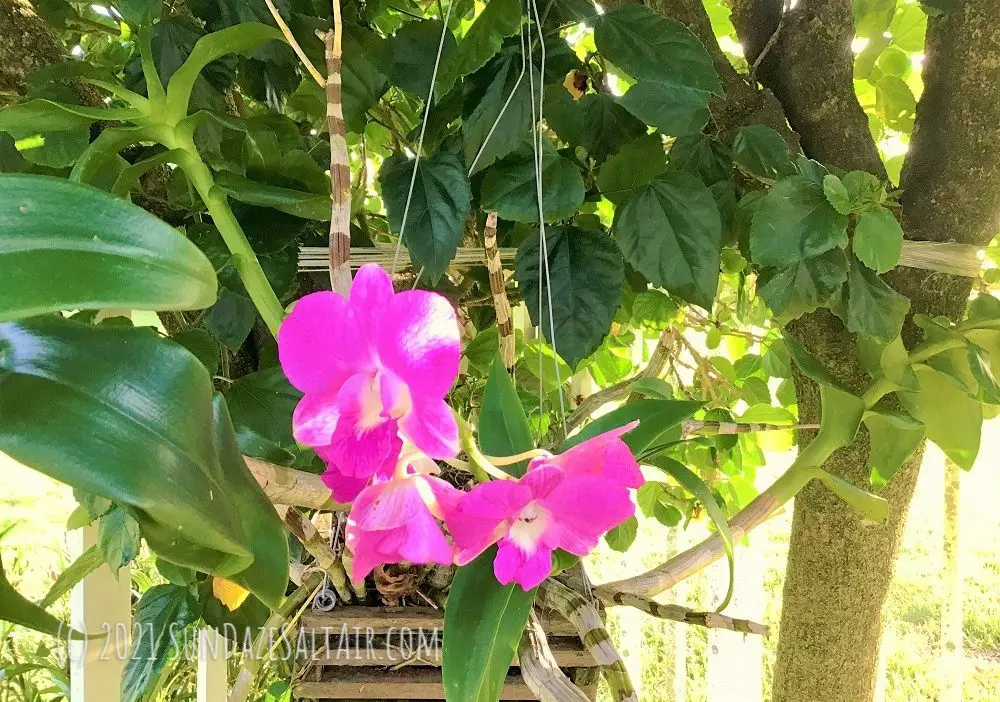
Dendrobium Flowers Are Profuse & Long-Lasting Making Them Ideal for Display
Dendrobium’s large, cascading spray of flowers plus ease of care makes it one of the most popular orchids grown by the home gardener. Known for long-lasting sprays of blooms that can flower for up to eight weeks, Dendrobiums also have the potential to produce flowers multiple times in a year. Such characteristics make Dendrobium an excellent choice for cut flowers for bouquets or floral arrangements, including the famous Hawaiian leis.
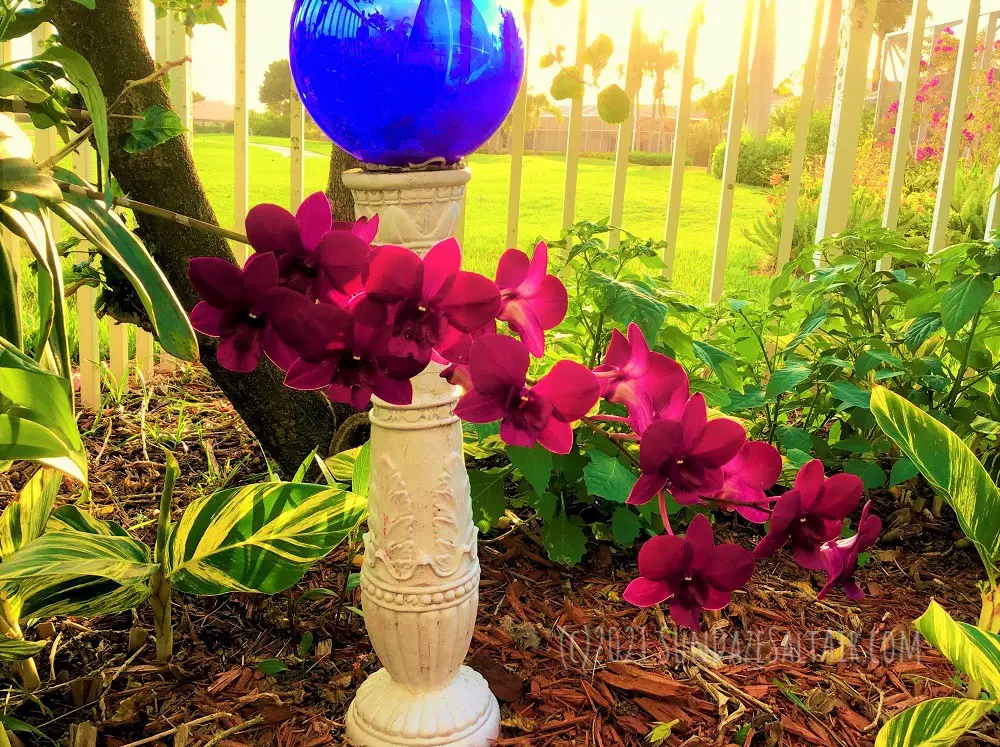
TIP! Where Can You Grow a Tropical Dendrobium Orchid Outdoors?
Dendrobiums: Soil-Less in the Fresh Air
As any grower knows, like many orchids, Dendrobiums are epiphytic or lithophytic in the wild. This means Dendrobiums grow attached to tree bark or in rocks or ledges as opposed to in the ground in soil. These native growing conditions permit Dendrobium’s exposed roots or canes to take advantage of the moisture and nutrients intrinsic in the environment around them. For tropical Dendrobiums, this often means availing themselves of the sustenance supplied by the rich rainforest ecosystems surrounding them.
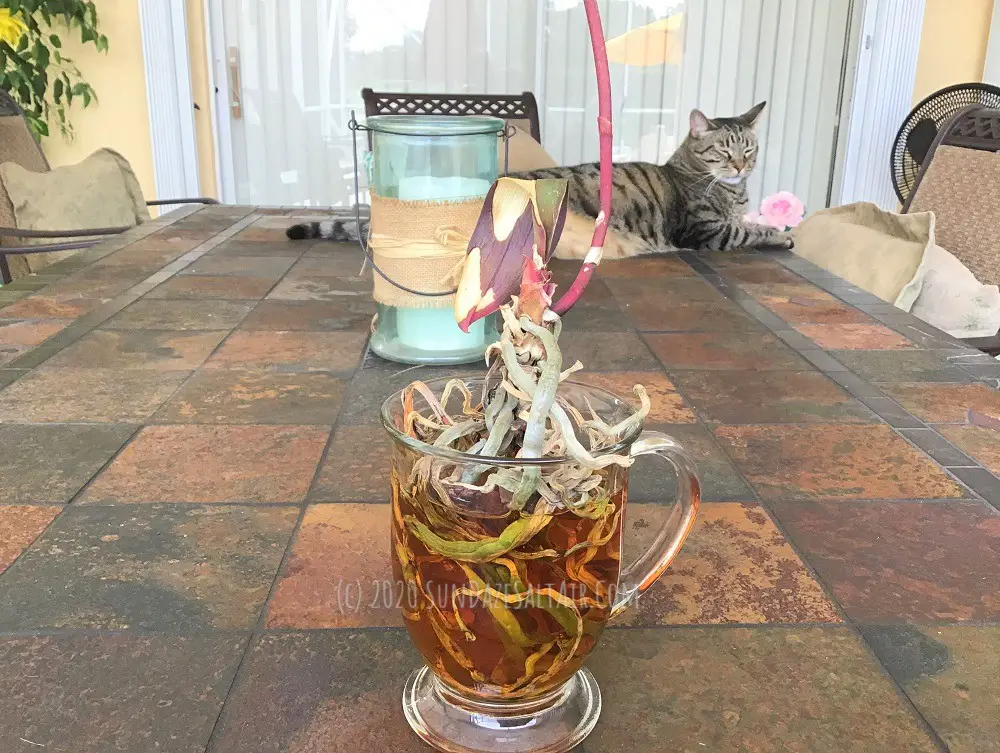
**Got Tea? Discover how basic black tea in your kitchen cabinet can quickly rejuvenate your orchid by simulating its native rainforest environment…
How Dendrobiums Grow – Roots & Canes
Unlike monopodial Phalaenopsis and Vanda, Dendrobiums are sympodial orchids. As such, Dendrobiums grow horizontally with each new stem-like growth called a “cane” or root system, aka a pseudobulb. With time, Dendrobium orchids can become fairly wide and take up quite a bit of space. This unique cane or pseudobulb system also serves the purpose of storing water and nutrients for your Dendrobium. Eventually, your Dendrobium may grow multiple canes or pseudobulbs which is a sign your Dendrobium is healthy and thriving.
After all, the more canes your Dendrobium has the more storage it has for water and vital nutrients. This storage will enable your plant to sustain itself in times of drought. Not to mention, since flowers grow from canes, the more canes it has, the flashier and more robust its flower displays.
It is also from these canes that a brand-new orchid can be successfully propagated…
When Is Your Dendrobium Orchid Mature & Healthy Enough to Propagate?
When Can Your Orchid Can Be Propagated Using Its Canes?
You will know your orchid can withstand propagation using its canes when it has at least four healthy canes with a healthy crop of leaves.
When Can Your Orchid Can Be Propagated Using Its Keiki?
Your orchid can withstand propagation using its keiki when the keiki has about three or four roots long enough to sustain it to live and grow on its own.
Now, let’s propagate your Dendrobium using these two simple methods…
**Discover how to repair your skin barrier naturally from the inside out with these essential fats….

How To Propagate a Dendrobium Orchid – Two Easy & Effective Methods
Method #1: Propagate A Dendrobium from a Cane Cutting
As stated above, unlike orchids which grow vertically from a single stem, sympodial Dendrobiums grow wider out of a thick rhizome base. Growing from this base are thick stem-like growths called canes or, more accurately, pseudobulbs. These canes or pseudobulbs vary in size and shape but all serve to store sustenance for the plant. You will also notice new green growths called keikis growing from these canes occasionally. Due to their ability to sustain themselves, a cane cut from your plant (or cutting) can produce new growth that will eventually turn into a new Dendrobium plant.
Why You May Not Want to Cut Canes…
I don’t always recommend cutting an orchid’s canes because they do contribute to the health of your plant. Plus, the more canes an orchid has, the more spectacular it looks when it flowers. However, when the canes are large enough and have shed their leaves, you may carefully prune a couple canes from the mother plant without causing any harm. Doing this will “clean up” the appearance of the plant while also preventing it from growing too large. Of course, if you prefer a larger plant, just leave them alone and propagate only keikis instead.
Dendrobium cuttings can then be planted to grow a brand-new baby dendrobium in a few months’ time by following these instructions:
Materials You Will Need:
Scissors or garden shears
Rubbing alcohol or hydrogen peroxide (to disinfect)
Cinnamon powder (for open wounds on pseudobulbs/rhizomes)
Orchid baskets or clear plastic pots with drainage
Combination of sphagnum moss (soaked in water), orchid bark, perlite, charcoal or lava rock
TIP! Why Choose Charcoal for Your Orchid Potting Mix?
The advantage of charcoal is that it promotes optimum moisture levels in orchid potting media. Charcoal encourages excess water to drain plus you never have to worry about it degrading. The benefits of charcoal over other potting media helps reduce the risk of conditions which could contribute to rotting your orchid’s roots.
Step-By-Step Instructions to Grow a Dendrobium Orchid from Cane Cuttings
- Disinfect your garden shears or scissors by sterilizing the blades with a bit of rubbing alcohol or hydrogen peroxide.
- Select the cane you want to separate. Many times, older canes that appear dry or even dead are simply dormant and are still viable.
- Take your shears and cut the cane down low near the base of the plant (rhizome) at the axis. Take care to avoid cutting into the rhizome too much.
- Sprinkle some cinnamon powder, a natural fungicide, on the cut, open rhizome wound to help it dry and prevent infection.
WARNING: Do not let any cinnamon get on non-pseudobulb orchid roots as it is far too drying for those delicate roots.
Pot Your Cane Cuttings:
- Make sure that any sphagnum moss you are using has been thoroughly soaked in water before placing it in a basket or clear plastic pot. You may also add your chosen combination of orchid bark potting mix, perlite, charcoal or lava rock.
- Now take your severed cane(s) and place it cut-side down into the sphagnum moss in the pot or basket. Depending on how many canes you’ve cut, you may be able to fit up to five canes per pot or basket.
- Hang or place these in a warm, partially shaded spot with indirect light and good ventilation. Water fairly sparingly by misting the cuttings daily so they are moist but never soggy. Now, wait…
How Long Until You See New Growth?
Depending on the climate, you may notice little green growths begin to grow from the bottom of your canes in about two to four months. A variety of factors can influence this process, so don’t be surprised if sprouting takes as long as six months. Of course, these new sprouted growths are keikis or baby orchids. Once they are large enough, if you have more than one, you may want to separate each into individual pots or baskets. You can give them as gifts to your orchid-loving friends.
If the weather makes it possible, hang your new plants in baskets or pots under trees to replicate your plant’s native growing conditions, otherwise bring them indoors.
Method #2: Propagate A Dendrobium from a Keiki
What Is a Keiki?
As stated above, a keiki is a new “baby” orchid that grows as an offshoot from the base of mature canes on the mother plant. Since a keiki is produced asexually without pollination, a keiki is an exact replica of the mother orchid plant. It can be potted on its own after it develops roots while still attached to the mother plant. Keikis are unique to only a select few species of orchids, including Phalaenopsis and Epidendrum as well as Dendrobium.
**Fun Fact!
Keikis are most likely to be produced under lower light conditions. As indicated earlier, keikis can and will bloom while still attached to the mother plant, and typically become a mature plant within about two years.
Step-By-Step Instructions to Grow a Dendrobium Orchid from a Keiki
- While it is possible to break off a keiki using your bare hands without sustaining any damage to either plant, for more precision, use garden shears or scissors. Disinfect your garden shears or scissors by sterilizing the blades with a bit of rubbing (isopropyl) alcohol or hydrogen peroxide.
- To separate the keiki from the cane, first locate the keiki at the base of the cane where it meets the rhizome. Use your shears to carefully sever the stem between the keiki and the cane. Be sure not to cut into any of the subtle aerial roots that may be hanging around as you want to preserve as many roots as possible on the keiki.
- Gently remove the keiki from the mother plant and apply a small amount of cinnamon powder to the open wounds. You will now be able to inspect the keiki more closely and observe any roots it may have.
Pot Your Keiki:
- You may want to soak your keiki’s roots in a small bowl of water to hydrate it prior to potting.
- If you are using sphagnum moss, make sure that you have soaked it thoroughly in water before placing it in your orchid basket or clear plastic pot. Next add your chosen combination of composted fir bark, perlite, charcoal or lava rock.
- Now take your keiki and gently place it into the potting medium in the pot or basket. Take care not to bend or damage any roots and leave any aerial roots out in the air and exposed in order to maximize the health of your orchid.
- Keep your clear potted keikis or keikis in hanging baskets in a bright but partially shaded area out of direct sunlight. Also, make sure the pots and baskets receive plenty of ventilation.
Now, be patient while your little plant grows into a fully-grown Dendrobium that should provide enchanting beauty and life to your space for years to come…
Have you propagated Dendrobiums before? If so, how long did yours take? Share your favorite tips in the comments!


You May Also Like

How To Fix A Clock For Under $15 – Easy DIY Hack To Fix A Clock By Replacing Its Mechanism

How To Grow Potatoes in A Bag Easily in Small Spaces & Turn 3 Potatoes Into 30! Step-By-Step